
"Armitage is a scriptable red team collaboration tool for Metasploit that visualizes targets, recommends exploits, and exposes the advanced post-exploitation features in the framework."
Armitage is basically an easy way to use Metasploit with a fancy GUI that makes your work much easier
In this tutorial you will learn how to use Armitage in order to try to gain access to machines in your network
Requirements:
● Backtrack 5 - Download it here
● Armitage - Download it here
Important Information:
▸ This guide is VERY detailed, so anyone can follow it
▸ The tutorial was done using Backtrack 5
▸ This will cover the basic “Hail Mary" attack
▸ Hail Mary: to run on each machine all it’s possible exploits
Step 1 :
Open Armitage:
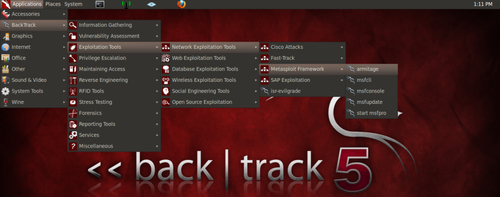
Open Armitage:
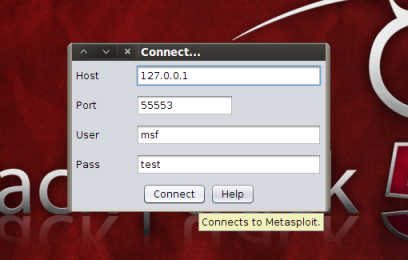
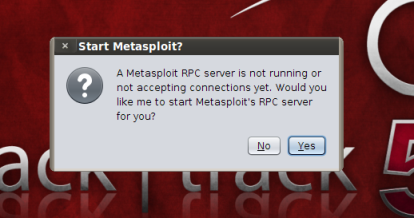
Step 2 : Click “Connect” (image 1) and then “Yes” (image 2)
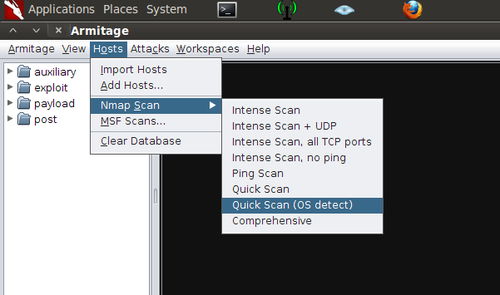
Select “Quick Scan (OS Detect)”
Note: You can perform any scan you want.
I recommend this one because it’s fast and effective
I’m working with only a few machines here. With 20+ machines, Intensive or Comprehensive Scans will be a lot slower
But remember: the more information you have on a machine, the better will Armitage decide what exploits you can and cannot use on it
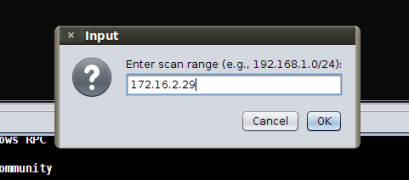
IMPORTANT: I’m only adding that machine because I know it’s vulnerable. Ignore it for now
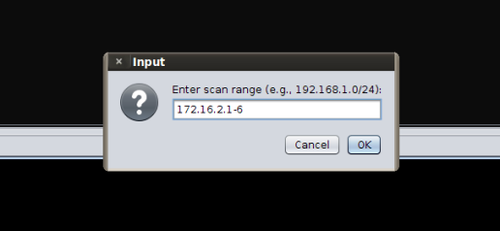
Select all the machines (Drag or Ctrl + Left-click)
Right-click any machine and select “Scan”
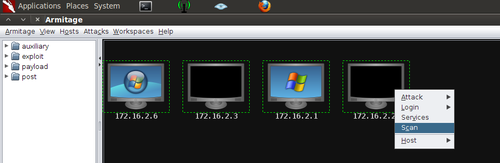
Right-click any machine and select “Scan”
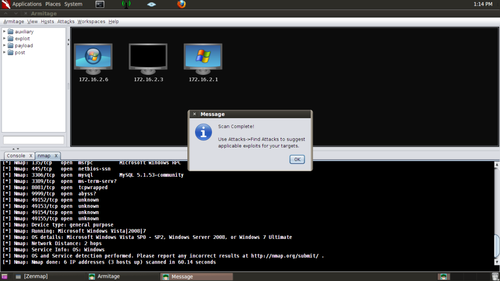
Wait until you see this on the console part of the screen
Note: This is only to be sure you have the information you need about the machines
Or in some cases, to get a little more information about the machines
I recommend you always do it

Select “Find Attacks” from the “Attacks” menu (image 1) and then “OK” once it has finished
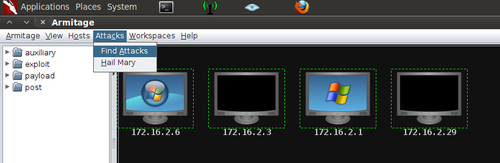
Select “Hail Mary” from the “Attacks” menu
Note: You can Right-click each machine and manually run any exploits you want from the “Attack” menu
The Hail Mary is described in the Important Information section in the beginning

Note: You can Right-click each machine and manually run any exploits you want from the “Attack” menu
The Hail Mary is described in the Important Information section in the beginning
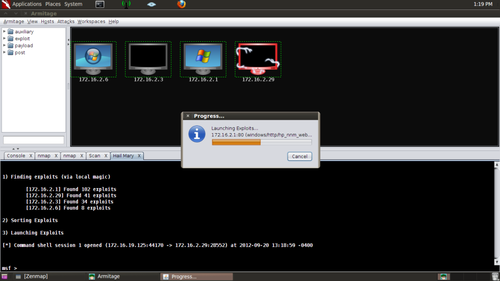
Wait while the attack is finished
IMPORTANT: As you can see, the machine in red has been infected
I now have full access to it. (It’s the one I added later, just to show you how it looks like)
Right-click any infected machines and select what you want from the “Shell #” menu
VERY IMPORTANT: The machine in my example is running UNIX. In the end of the tutorial you can see what it would look like if it was a Windows machine
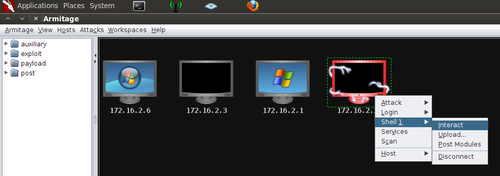
After selecting “Interact” I issued the “ls” command on the console just to show you the basic of what you can do

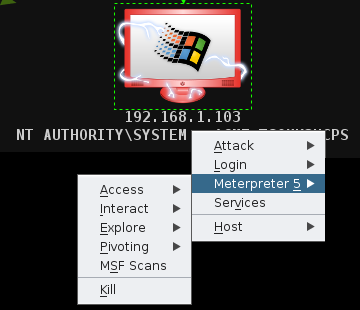
Here is what it would look like if the infected machine was running Windows
Instead of the “Shell #” you have “Meterpreter #”
You have many more options, including “Screenshot” and “Capture all keyboard input”
Note: For Education Purpose Only, Do this at your own risk..
nice tutorial thanks
ReplyDelete